Bad Physics Maps Tier List
Eight sandbox maps ranked by gadgets and clip potential.
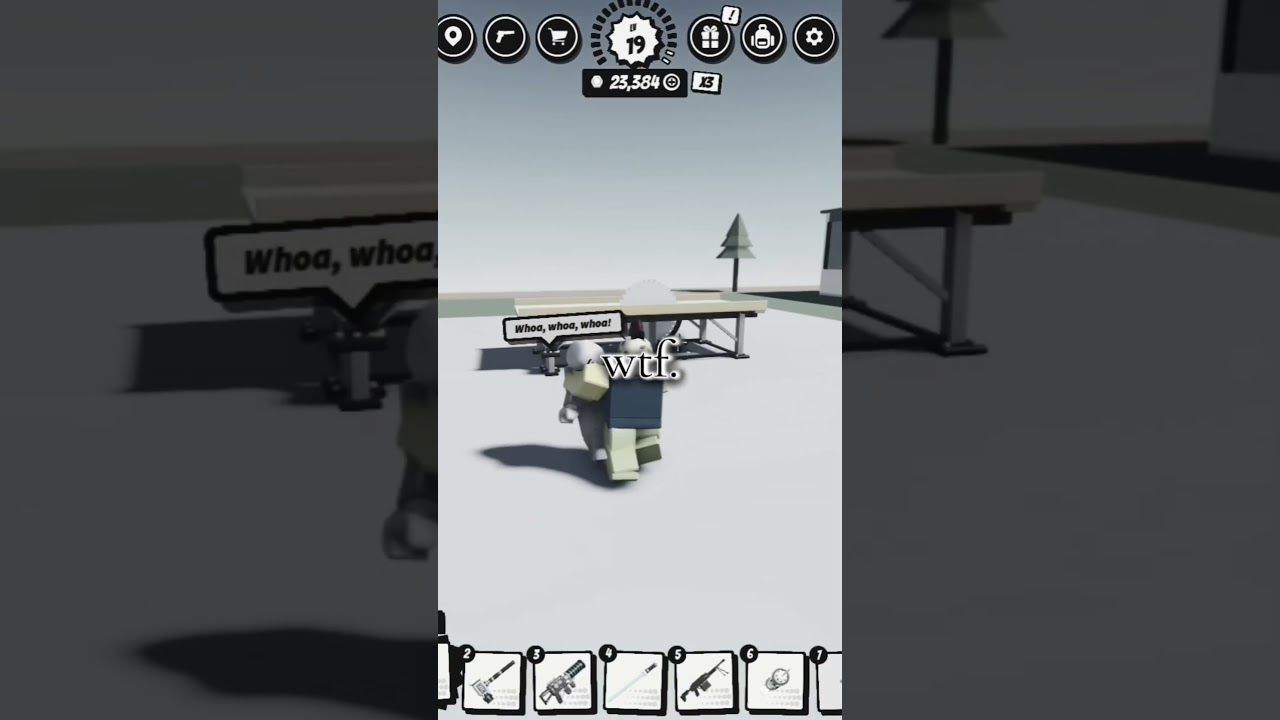
How map tiers work
Bad Physics currently offers 8 maps packed with sandbox toys: cannons, catapults, wrecking balls, traps, vehicle routes, and prop-friendly spaces. This tier list ranks maps by how much the environment helps you create ragdoll chaos — especially in private servers with friends — not by competitive spawns.
Confirmed community favorites include Switchyard and Portal Lab. Other maps are discussed as community rankings that shift with updates, using role-based labels (industrial yard, gadget arena, open prop field, and so on) until every official name is locked in your build. When the studio renames or reworks a layout, expect movement between tiers.
Bring strong tools from the Weapons Tier List either way. A Nuke on a weak map still slaps; a peashooter on Switchyard still benefits from cannons. Overview criteria live on the Tier List Hub.
S-tier maps — gadgets do half the work
Switchyard
Industrial energy, sightlines for vehicles, and dense interactive props. Community showcases lean on Switchyard because cannons, heavy objects, and open lanes let Bankshots and explosives chain into long ragdoll flights. Crane and tank players get room to reposition without constant wall collisions. If you only learn one map deeply, start here.
Play tips: Line dummies between a cannon and a pit or ramp. Use cars to shove clusters into trap triggers. Save Dummy Rain for the widest lane so rainfall hits props, not empty sky.
Portal Lab
Portal routing turns a single melee pop into a multi-room journey. Lab aesthetics also read clearly on camera, which creators love. Trap and launcher placements near portal mouths create “enter laughing, exit airborne” clips. Gunsmith lasers help track dummies mid-transit.
Play tips: Knock a friend-dressed dummy into a portal aimed at a catapult. Practice timing so an explosive detonates just after exit. Avoid wasting Nuke inside a tiny lab closet — take finales to the largest chamber.
Why these are S: Environmental multipliers stay strong even if your inventory is still early-game. Free Bankshot + 500 Bolts from the group reward (see Codes) already feels powerful here.
A-tier maps — excellent with the right loadout
Cannon & catapult yards (community label)
Layouts whose identity is a battery of launchers. Slightly less prop variety than Switchyard, but higher consistency for competitive “farthest ragdoll” challenges among friends. Rank these A because they reward aim and timing more than pure explosive spam.
Wrecking-ball arenas (community label)
Centered on massive pendulums or demolition balls. Melee launchers jump a tier here; firearms matter more for nudging dummies into the ball’s arc. Great for spectators standing on catwalks.
Hybrid trap corridors (community label)
Hallways of pressure plates, crushers, and spring traps. Perfect for scripted comedy routes. Slightly lower than S because once your friends learn the safe tiles, chaos becomes a puzzle instead of a sandbox — still fantastic for quest-like private events.
A-tier summary: Bring at least one A/S weapon and a vehicle if available. These maps punish empty inventories more than Switchyard does.
B-tier maps — solid sandboxes, fewer free launches
Open prop fields (community label)
Wide flats where sandbox mode prop spawning matters most. You build the chaos yourself: stack crates, aim custom ramps, spawn toys. Creators who love design work will rate these higher personally; default tier is B because a brand-new player without props feels fewer “wow” moments.
Compact urban pads (community label)
Short sightlines, lots of walls, great for sticky explosives and bad for long Bankshot arcs. Fun for five-friend melee nights; less ideal for Nuke photography unless you climb a roof.
B-tier advice: Host these when your group already owns strong weapons and wants a change of pace. Use playtime and quest sessions here to experiment without wasting your best call-in on a cramped finale.
C-tier maps — niche or tutorial-leaning
Sparse starter pads (community label)
Fewer gadgets, simpler lighting, good for learning controls and Gunsmith menus. Move on once you understand ragdoll arcs. Still useful for clean thumbnail backgrounds.
Ultra-gimmick stages (community label)
One loud mechanic that gets old after fifteen minutes (single trampoline field, lone spinning platform, etc.). Hilarious opener, weak marathon host pick. Rotate back after updates — gimmick maps sometimes receive prop expansions that bump them to B.
Remember: C does not mean “delete from the game.” It means “do not spend your only private-server evening here if you want peak chaos.”
Vehicles and call-ins by map type
| Tool | Best map types | Note |
|---|---|---|
| Cars | Switchyard, open fields | Shove clusters into traps |
| Tank | Industrial yards | Armor through messy prop piles |
| Crane | Wrecking arenas, labs | Precision drops onto launchers |
| Nuke | Wide S/A maps | Avoid tiny corridors |
| Dummy Rain | Any wide lane | Feeds every weapon tier |
| Zombie Outbreak | Trap corridors, yards | Moving targets + gadgets |
Call-in availability can depend on progression, events, or purchase paths in the live build — verify in-game after each patch.
Private server hosting tips
- Announce the map and theme (explosives only, melee only, vehicles only).
- Give everyone time to claim dailies and the group reward before the main event.
- Start on an S-tier map so early unlocks still feel strong.
- Rotate to an A gadget yard, then a B prop-build map for creative cool-down.
- Finish with Nuke or Dummy Rain on the widest stage you have.
- Dress dummies like the friend group for the recap clip.
Hosts who skip straight to C-tier gimmick maps often hear “this is it?” five minutes in. Structure the night like a playlist.
Updates will reshuffle this list
Bad Physics is actively updated (November 2026 and beyond). New traps, renamed maps, or balance passes on portal friction can flip A and S. Community placeholders above are clearly labeled so we do not pretend every internal codename is published. When official names stabilize, this page will swap labels for proper titles without changing the gadget-first philosophy.
For weapon buys that match your favorite map, return to the Weapons Tier List. For free Bolts and Bankshot, use How to Redeem Codes. New pilots should read Getting Started. Avoid chasing map-unlock scripts — see the Scripts Hub.
Related links
- Tier List Hub — ranking criteria
- Weapons Tier List — what to bring
- Codes Hub — free progression
- Guides Hub — more how-tos
Frequently Asked Questions
Quick answers for Bad Physics players.
What is the best Bad Physics map?
Switchyard and Portal Lab currently lead community chaos rankings thanks to dense gadgets and portal chaining. Personal favorites still depend on whether you prefer industrial props or lab routing.
Why are some maps given generic labels?
Only some names are firmly established in public materials so far. Other entries use role-based community labels and will be renamed as official titles are confirmed after updates.
Do weapons matter more than maps?
Both matter. S-tier maps multiply weak loadouts; S-tier weapons rescue sparse maps. Optimize both using the weapons and maps lists together.
Which map is best for Nuke or Dummy Rain?
Wide industrial or yard layouts. Avoid tiny lab closets for Nuke finales; use Dummy Rain on the broadest lane you can find.
Will this tier list change?
Yes. Eight maps and ongoing patches mean community order will drift. Recheck after major updates and treat rankings as guidance, not rules.